

How To Repair Window Casing

Introduction
Door or window casing is very easily damaged in the home whether it be from moving furniture or being chewed upwards by a dog. This guide provides unproblematic steps to fix multiple types of trim without breaking the bank.
Parts
No parts specified.
-
-
Sand downwards the damaged surface area of the trim using the block sanding sponge to brand a smooth surface.
-
-
-
Wipe off the excess dust from sanding with a wash fabric.
-
-
-
Apply Dap drydex spackling to to the damaged area of the trim using a 1" plastic putty knife.
-
-
-
Use the cake sanding sponge to smooth out the surface of the trim to match the crevices of the trim.
-
-
-
Wipe off the excess dust from sanding with a launder material.
-
-
-
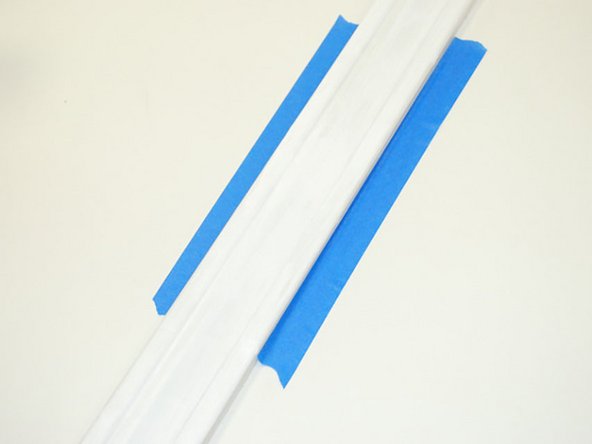
Tape the edges effectually the damaged area of the trim with masking tape.
-
-
-
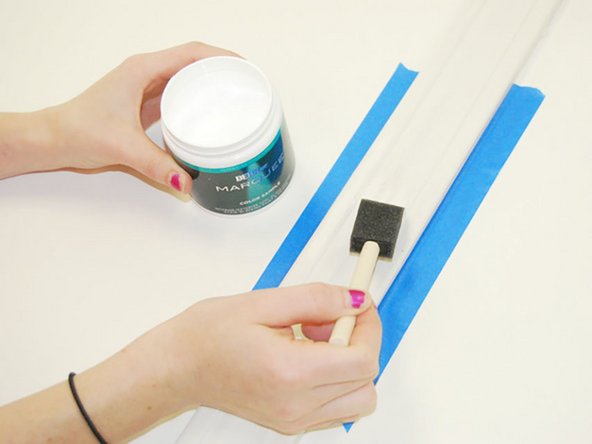
Pigment the trim to match the original color.
-


Almost washed!
Repairing chipped and/or broken door or window casing in the habitation as a practice-it-yourself projection overall saves time and coin. In that location is no hassle of having to take off of work to meet the installers, no outrageous costs for materials and proper equipment, and no stress considering this guide has everything necessary to complete the repair. And so have fun, practiced luck, and happy fixing.
Decision
Repairing chipped and/or cleaved door or window casing in the home as a do-it-yourself project overall saves time and coin. In that location is no hassle of having to take off of piece of work to meet the installers, no outrageous costs for materials and proper equipment, and no stress because this guide has everything necessary to complete the repair. And so have fun, good luck, and happy fixing.
Team

0 Comments

Source: https://www.ifixit.com/Guide/How+to+Repair+Damaged+Door+or+Window+Casing/95783
Posted by: moralesclacers.blogspot.com
0 Response to "How To Repair Window Casing"
Post a Comment